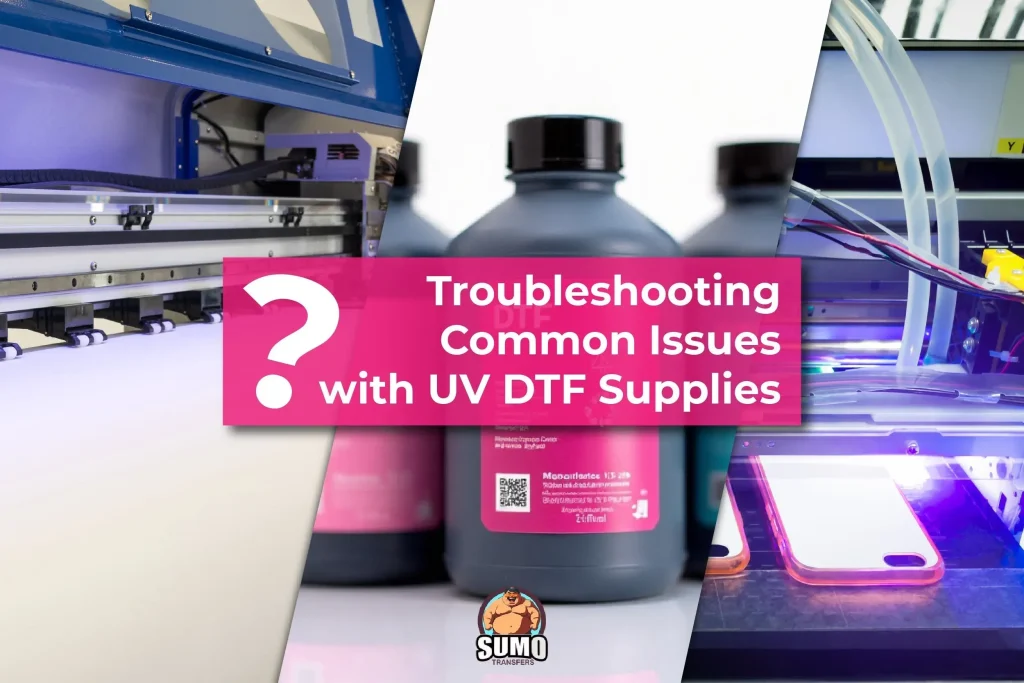
UV DTF transfer troubleshooting is a practical, image-focused guide for anyone working with UV-curable inks and DTF transfers. If you’ve encountered issues during or after the transfer, you’re in the right place, and this article offers clear, actionable steps to identify symptoms and apply quick fixes to keep production moving. By focusing on adhesion, curing, color accuracy, and alignment, you’ll reduce downtime and improve overall print quality, addressing DTF adhesion problems and UV curing for DTF transfers. The guide also references DTF printer troubleshooting to help technicians diagnose root causes rather than chase symptoms. With a consistent workflow, you can prevent recurring issues and sustain high-quality results across batches.
Viewed through an LSI-inspired lens, the topic expands to UV-curable ink workflows, direct-to-film printing challenges, and cure-parameter optimization rather than relying on a single symptom. When issues appear—bonding inconsistencies, uneven curing, or misregistration—they reflect adhesion and curing dynamics tied to substrate prep, transfer film quality, and surface energy. A systems view helps teams map symptoms to root causes, run targeted tests, and assemble a library of substrate‑film configurations for repeatable results. By using related terms such as transfer-film compatibility, adhesive performance, and lamp uniformity, the explanation remains practical for operators and designers while aligning with search intent.
Foundations of UV DTF Printing: Transfers, Inks, and Curing
UV DTF printing uses UV-curable inks, a transfer film, and curing lamps to lock in color before transferring to the final substrate. Understanding how these elements interact helps you anticipate where problems originate and what to test first. This is the bedrock of UV DTF printing and sets the stage for effective UV curing for DTF transfers and general DTF printer troubleshooting.
Key variables include ink viscosity, lamp wavelength and distance, substrate porosity, and film adhesion. When any of these drift, you may see DTF adhesion problems, color shifts, or incomplete cure. By mapping symptoms to components, you can apply targeted quick fixes and keep production moving.
UV DTF transfer troubleshooting: diagnosing symptoms and applying quick fixes
This section treats UV DTF transfer troubleshooting as a structured diagnostic workflow. Start with observable symptoms such as patchy curing, edge halos, or misalignment, then trace back to the most likely cause—be it the lamp, substrate prep, or ink flow.
Because problems often emerge from a combination of factors, apply quick fixes in a controlled order: verify curing lamp intensity, clean the curing window, re-check substrate prep, and test with a known-good alignment frame. This approach aligns with DTF transfer quick fixes and helps you isolate root causes quickly.
DTF printer troubleshooting: diagnosing curing, adhesion, and color challenges
In DTF printer troubleshooting, diagnosing curing uniformity and adhesion requires a methodical check of the UV lamp array, reflectors, and exposure timing. If color appears muddy after cure, re-run ICC profile validation and examine substrate porosity and pigment load.
Adhesion problems (DTF adhesion problems) often trace to surface prep, primer compatibility, and pressure during transfer. By verifying these elements in sequence, you can improve bonding without sacrificing color fidelity.
Optimizing curing and adhesion for color accuracy and bond strength
Prioritize UV curing for DTF transfers by ensuring uniform lamp output and avoiding shadows from warped films. Consistent cure is crucial for bond strength and color vibrancy.
To reduce DTF adhesion problems, select compatible primers and transfer films, and adjust contact pressure during the transfer stage. Effective curing and robust adhesion together maximize durability in the final product.
Alignment, color management, and substrate prep for consistency
Precise alignment is essential; use fiducial marks, calibrated platens, and color-management workflows to prevent misregistration. Building a library of ICC profiles for each substrate/film pair supports consistent output. This discipline also helps minimize UV DTF transfer issues.
Substrate prep sets the stage for success. Clean surfaces, surface roughness control, and appropriate pre-press parameters reduce edge bleed and color halos while supporting reliable adhesion.
A repeatable workflow: SOPs, calibration, and preventive maintenance
Develop and document standard operating procedures for curing, transfer, and post-press steps. A clear SOP reduces UV DTF transfer issues.
Maintain calibration logs for printers, curing lamps, and platen alignment, and run routine maintenance on lenses and reflectors. A proactive maintenance routine prevents many UV DTF transfer issues before they start.
Frequently Asked Questions
What is UV DTF transfer troubleshooting and how does it help with curing, adhesion, and color accuracy?
UV DTF transfer troubleshooting is a practical, image-focused approach to diagnosing issues that occur during curing, transfer, and adhesion in UV-curable DTF workflows. It helps you quickly map symptoms to root causes and apply targeted quick fixes, reducing downtime and preserving print quality. Key steps include verifying lamp wavelength and distance, checking substrate and transfer-film compatibility, cleaning curing-unit optics, and documenting a repeatable workflow (SOP) for future runs.
What are the most common UV DTF transfer issues and quick fixes you should know for faster troubleshooting?
Common UV DTF transfer issues include incomplete curing, poor adhesion, color bleed, misalignment, white ink underprint issues, and edge lifting. Quick fixes: verify lamp intensity and distance; extend curing time in small increments; clean curing unit optics; prep the substrate surface; confirm the adhesive layer and transfer film alignment; adjust ICC profile and color management; ensure white ink flow and proper drying.
How can you address DTF adhesion problems during the UV curing for DTF transfers in a production run?
DTF adhesion problems during UV curing for DTF transfers can be reduced with careful substrate prep, surface cleaning, and proper transfer parameters. Quick fixes: clean oils; lightly abrade smooth surfaces; apply an appropriate primer or coating; confirm transfer film compatibility; ensure consistent contact pressure and even heat during the transfer.
What steps does effective DTF printer troubleshooting cover within UV DTF transfer troubleshooting?
DTF printer troubleshooting within UV DTF transfer troubleshooting includes checking ink formulation and viscosity, nozzle health, printhead performance, and white-ink channels; verifying substrate compatibility and calibration; and confirming color profiles. Quick steps: run nozzle checks, verify viscosity and flow, prime white channels, test with a known-good alignment frame, and calibrate platen and belt drift.
What are essential DTF transfer quick fixes to prevent color bleed and misalignment in UV DTF transfer troubleshooting?
DTF transfer quick fixes to prevent color bleed and misalignment: establish an SOP for curing and transfer; build tested ICC profiles for each substrate/film; use quality consumables; create a workstation quick-fix kit with IPA, lint-free wipes, abrasive pad, a thermometer or thermal probe, and spare lamps or a UV meter; document settings for repeat runs.
Why is UV curing for DTF transfers central to troubleshooting and how can you optimize lamp setup and curing time?
UV curing for DTF transfers is central to reliable results. Optimize lamp setup for uniform exposure, verify distance and wavelength, and set curing time to suit the inks and substrate. Keep the curing unit clean, consider a protective topcoat, monitor lamp hours, and use a UV meter to ensure consistent output across prints.
| Topic | Key Points |
|---|---|
| What UV DTF transfer troubleshooting is | A practical, image-focused guide for UV-curable inks and DTF transfers. Aims to diagnose issues quickly and provide quick fixes to keep production moving, focusing on adhesion, curing, color accuracy, and alignment to reduce downtime and improve print quality. |
| Process overview | In a typical workflow, printer deposits UV-curable inks onto a transfer film or substrate, inks are cured by a UV lamp, and the dried image is transferred to the final product. Disruptions in ink viscosity, lamp output, substrate texture, or transfer material can cause visible issues; breaking the process into stages helps map symptoms to root causes. |
| Common issues & quick fixes | Issues include incomplete/uneven curing, poor adhesion, color bleed/halo, misalignment, white ink issues, and edge lifting. Quick fixes cover lamp intensity/distance, proper wavelength, curing time, cleaning the curing unit, substrate prep, alignment, adhesive selections, ICC/color management, ink laydown/drying, white ink flow and priming, transfer pressure, and test/adjustment of pressure profiles. |
| Diagnosing approach | Reproduce the problem with a controlled test; confirm media/ink match; inspect curing system; review pre-press conditions; check transfer parameters; use controlled variables and document results to build a reliable troubleshooting framework. |
| Workflow improvements | Create SOPs for curing/transfer/post-press; maintain calibration logs for printers/lamps; develop a color-management plan with ICC profiles; invest in quality consumables; maintain a quick-fix kit at the workstation. |
| Step-by-step troubleshooting guide | Six symptom-based actions: (1) Faint/patchy white print – check white ink channel/viscosity/flow and drying; (2) Muddy colors – validate ICC/color profile; adjust color density; (3) Edges bleed – ensure line sharpness, reduce ink laydown, check substrate porosity; (4) Transfer peels – revisit pre-press time/temperature/pressure and adhesive compatibility; (5) Misalignment – run platen/belt calibration and use fiducials; (6) Inconsistent curing – inspect lamp array/reflectors and distance. |
| Preventive measures & best practices | Use compatible materials, maintain a clean workspace, optimize curing strategy for uniform coverage, focus on substrate preparation, and pursue continuous learning by reviewing failed runs and building a library of known-good configurations. |
| Maintenance routines | Regularly clean curing unit lenses/reflectors, track lamp hours, verify ink/coating quality with viscosity/nozzle checks, inspect transfer film stock for scratches, and keep an archive of profiles/settings for repeatable results. |
| FAQ | How often to recalibrate? When print quality drops, lamps are replaced, or substrates/films change. Can you use the same settings for all substrates? No—test and adjust per substrate. Is curing time the only factor? Not; surface prep, pressure, transfer time, and material compatibility matter as well. |