
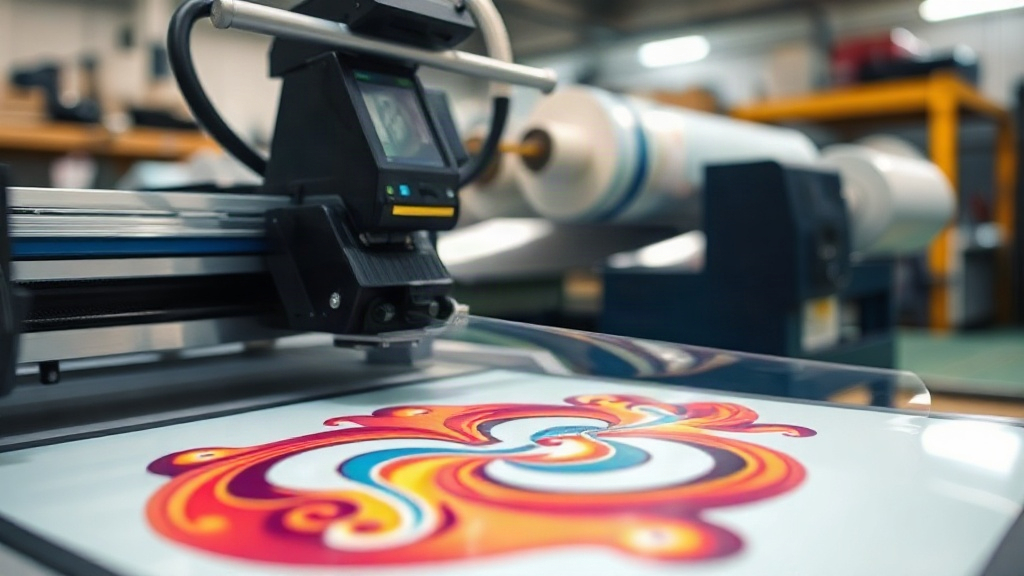
If you have ever wanted to print full-color designs onto t-shirts without the hassle of weeding vinyl or the cost of screen setup, DTF printing might be exactly what you need. Direct-to-film transfer printing has taken the custom apparel world by storm, and for good reason: it delivers vibrant, stretchable results on almost any fabric. In this guide, I will walk you through what DTF printing is, how it works, and how you can get started with minimal equipment.
What Is DTF Printing?
DTF stands for Direct-to-Film. It is a digital printing method where your design is printed onto a special PET film using water-based pigment inks. A powdered hot-melt adhesive is then applied to the wet ink, and the film is cured. When you are ready to apply the design, you heat press it onto the fabric, let it cool, and peel away the film. The result is a soft, durable transfer that bonds permanently to the garment.
Unlike DTG (Direct-to-Garment), which prints directly onto the fabric, DTF printing separates the printing and application steps. This makes it incredibly versatile because you can print transfers in advance and apply them on demand, even to fabrics that are difficult to print on directly, such as polyester, nylon, and blends.
Why Choose DTF Printing?
There are several compelling reasons why DTF printing has become a go-to method for small businesses and hobbyists alike:
- No weeding required: Unlike heat transfer vinyl (HTV), you do not need to cut and weed around intricate details. The printer handles everything, saving hours of tedious work.
- Full-color and photographic designs: DTF printers use CMYK plus white ink, allowing for smooth gradients, fine lines, and photo-realistic images.
- Works on many fabrics: Cotton, polyester, blends, canvas, denim, and even leather can be decorated with DTF transfers.
- Durable and stretchable: When applied correctly, DTF transfers withstand repeated washing and stretching without cracking or fading.
- Cost-effective for short runs: There are no setup fees or minimums, making it ideal for one-off custom pieces or small batches.
Materials and Equipment You Will Need
Getting started with DTF printing requires a modest investment. Here is what you need:
1. DTF Printer
You can buy a dedicated DTF printer or convert an existing inkjet printer (like an Epson EcoTank) with a DTF ink system. Dedicated printers are more reliable and come with white ink circulation systems to prevent clogging.
2. DTF Inks
Use water-based pigment inks designed for DTF. You will need CMYK plus white. Quality inks ensure vibrant colors and proper adhesion.
3. DTF Film
This is a special PET film with a release coating. It comes in sheets or rolls, typically in cold-peel or hot-peel varieties. Cold-peel film is more common and easier to handle.
4. Hot-Melt Adhesive Powder
Also known as DTF powder, this is a thermoplastic polyurethane (TPU) powder that melts and bonds the ink to the fabric. It comes in fine and coarse grades; fine powder is better for detailed designs.
5. Heat Press
A heat press is essential for both curing the powder and applying the transfer. You need consistent temperature and pressure. A clamshell or swing-away press works well.
6. Additional Supplies
- Lint-free cloths or swabs for cleaning
- Heat-resistant tape to secure transfers
- Parchment paper or Teflon sheet for pressing
- Software for design preparation (e.g., Photoshop, Illustrator, or RIP software)
Step-by-Step DTF Printing Process
Here is a detailed walkthrough of the DTF printing process, from start to finish.
Step 1: Prepare Your Design
Create your artwork in a graphics program. Remember that DTF prints are mirrored, so you must flip your design horizontally before printing. Also, ensure your design has a transparent background; the white ink layer will be generated automatically by the RIP software.
Step 2: Print on Film
Load the DTF film into your printer. Set the printer to print the white ink layer first (or last, depending on your printer setup) and then CMYK. The white layer is crucial for opacity on dark fabrics. Print at high quality for best results.
Step 3: Apply Powder
While the ink is still wet, sprinkle the hot-melt powder evenly over the printed area. You can use a powder shaker or a manual method. Gently tilt the film to spread the powder, then shake off the excess. The powder should only stick to the wet ink.
Step 4: Cure the Powder
Place the film in a heat press or conveyor oven. Cure at around 160°C (320°F) for 2-3 minutes. The powder will melt and become glossy. Alternatively, you can use a heat gun, but a heat press gives more consistent results. Let the film cool completely.
Step 5: Apply to Fabric
Pre-press your garment to remove moisture. Place the transfer on the fabric with the powder side down. Press at 160°C (320°F) for 15-20 seconds with medium pressure. Let it cool completely (cold peel) before slowly peeling off the film. For hot-peel film, peel while hot.
Step 6: Post-Press (Optional)
For extra durability, you can cover the design with parchment paper and press again for 5-10 seconds. This helps the transfer settle into the fabric fibers.
Common Challenges and How to Overcome Them
Even with the best equipment, you might run into issues. Here are some common problems and solutions:
- Clogged printhead: White ink tends to settle, so agitate it daily and run a cleaning cycle. Use a printer with a white ink circulation system.
- Powder not sticking: Ensure you apply powder immediately after printing while the ink is wet. If the ink dries, the powder will not adhere.
- Cracking after washing: This usually means the transfer was not cured or pressed properly. Increase curing time or pressure. Also, wait 24 hours before washing.
- Film not peeling: Let the transfer cool completely for cold-peel film. If it still sticks, you may have pressed too long or too hot.
Tips for Success with DTF Printing
To get the most out of your DTF printing setup, keep these tips in mind:
- Store DTF film in a dry, cool place to prevent moisture absorption.
- Use a lint roller on garments before pressing to avoid lint under the transfer.
- Test your settings on scrap fabric before pressing onto a final product.
- Keep a log of temperature, time, and pressure for each fabric type.
- Clean your printer regularly to maintain print quality.
Frequently Asked Questions
What fabrics can I use with DTF printing?
DTF transfers work on a wide range of fabrics, including cotton, polyester, cotton-poly blends, nylon, canvas, denim, and leather. They are especially popular for polyester because DTG often struggles with it.
How long do DTF transfers last?
When applied correctly, DTF transfers can last as long as the garment itself. They withstand 50+ washes without significant fading or cracking if you follow proper care instructions: wash inside out in cold water and tumble dry low.
Can I print DTF transfers at home?
Yes, you can set up a home DTF printing system with a converted inkjet printer, DTF inks, film, powder, and a heat press. It requires an initial investment but is feasible for hobbyists and small businesses.
Do I need special software for DTF printing?
You need RIP (Raster Image Processor) software to handle the white ink layer and color management. Many DTF printer manufacturers provide proprietary RIP software. Alternatively, you can use third-party RIP programs.
Is DTF printing better than DTG?
It depends on your needs. DTF is more versatile with fabrics and can produce finer details, while DTG is faster for direct printing on cotton. DTF also allows you to print transfers in advance, which is great for on-demand production.
With this guide, you are ready to dive into DTF printing. Whether you are a hobbyist or a business owner, this technology opens up a world of possibilities for custom apparel. Start experimenting, and you will soon see why DTF is a game-changer.