
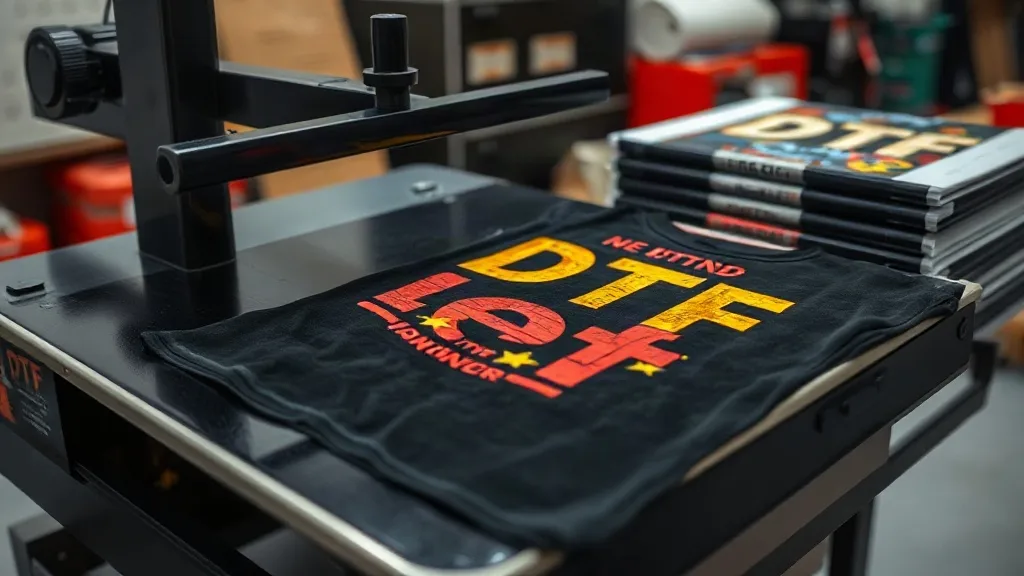
If you've been exploring custom apparel printing, you've likely encountered dtf transfers. This method has rapidly gained popularity for its versatility and vibrant results. Unlike traditional screen printing or vinyl, DTF (Direct to Film) allows you to print full-color designs on virtually any fabric, from cotton to polyester, without the need for specialized equipment or extensive setup. In this guide, we'll walk you through the entire DTF process, from preparing your artwork to pressing the final transfer, and share practical tips to help you achieve professional-looking results every time.
What Are DTF Transfers?
DTF transfers are printed designs on a special film that can be heat-pressed onto fabrics. The process involves printing your design onto a PET film using specialized DTF inks, applying a powder adhesive, and then curing it. Once ready, the transfer is placed on the fabric and pressed with a heat press, allowing the design to bond permanently. This method is known for its ability to produce bright, detailed prints with a soft feel, and it works on a wide range of materials, including cotton, polyester, blends, and even some non-woven fabrics.
Why Choose DTF Transfers?
There are several reasons why DTF has become a go-to solution for many printers and hobbyists. First, DTF doesn't require pre-treatment of the fabric, which saves time and reduces complexity. Second, it eliminates the need for color separation or screens, making it cost-effective for short runs and one-off designs. Third, DTF prints are highly durable, resisting cracking, peeling, and fading even after multiple washes. Finally, DTF allows for unlimited colors and gradients, so you can reproduce complex artwork with ease.
Step-by-Step Guide to DTF Printing
1. Design Preparation
Start with a high-resolution image (300 DPI is recommended). Ensure your design has a transparent background if it's not a full-rectangle print. Mirror the image horizontally before printing, as the transfer will be flipped when pressed. This step is crucial for text and logos.
2. Printing the Transfer
Load the DTF film into your printer, ensuring the coated side faces the print head. Print the design using DTF inks. The printer will lay down a layer of white ink first (if your design requires it), followed by the color layers. This white base is what makes the colors pop on dark fabrics.
3. Applying Adhesive Powder
While the ink is still wet, sprinkle the DTF adhesive powder evenly over the printed area. Shake off excess powder and ensure an even coating. Then, cure the powder using a heat source, such as a heat press or a tunnel dryer, following the powder manufacturer's instructions. The powder melts and creates a bondable surface.
4. Pressing the Transfer
Set your heat press to the recommended temperature (usually around 300°F to 320°F). Place the transfer on the fabric with the printed side facing up. Cover with a Teflon sheet or parchment paper. Press for 10-15 seconds with medium pressure. Allow the transfer to cool completely before peeling the film. For a matte finish, peel while cold; for a glossy finish, peel while hot.
Common Mistakes to Avoid
- Insufficient powder application: This leads to poor adhesion and washing off. Ensure even coverage.
- Incorrect pressure: Too little pressure results in incomplete transfer; too much can cause ink to spread.
- Peeling too early: Always let the transfer cool before peeling to avoid design distortion.
- Using the wrong film: Not all DTF films are created equal; use quality films designed for your printer.
DTF vs. Other Printing Methods
Compared to screen printing, DTF is more accessible for small batches and complex designs. Unlike vinyl, DTF can handle intricate details and gradients without weeding. And unlike DTG, DTF doesn't require fabric pre-treatment and works on more materials. However, DTF may have a slightly higher cost per print for large orders, but for many, the flexibility outweighs the cost.
Finding DTF Transfers Near You
If you're looking to try DTF without investing in equipment, you can order pre-printed transfers from specialized services. A quick search for dtf transfers near me can connect you with local providers who can print and ship your designs. This is a great way to test the waters or handle overflow orders. When choosing a provider, check for quality reviews and ensure they use compatible inks and films.
Applications of DTF Transfers
DTF is incredibly versatile. It's used for custom t-shirts, hoodies, tote bags, caps, and even shoes. Because it adheres to many materials, it's popular for team uniforms, promotional items, and personalized gifts. The ability to print on dark colors without a white underbase (thanks to the white ink layer) makes it ideal for bold, eye-catching designs.
Frequently Asked Questions
How long do DTF transfers last?
With proper application and care, DTF transfers can last as long as the garment itself. They are resistant to cracking and fading, and can withstand dozens of washes if washed inside out in cold water and tumble dried low.
Can I use DTF on 100% polyester?
Yes, DTF works well on polyester and polyester blends. However, because polyester is heat-sensitive, use a lower pressing temperature (around 280°F) and shorter dwell time to avoid scorching.
Do I need a special printer for DTF?
You can convert an existing inkjet printer (like an Epson) to use DTF inks, but it requires modifications such as a white ink circulation system. Alternatively, purchase a dedicated DTF printer for consistent results.
What is the difference between DTF and DTG?
DTG (Direct to Garment) prints directly onto the fabric, while DTF prints onto a film and then transfers. DTF works on more fabric types and doesn't require pre-treatment, but DTG can be more cost-effective for large orders on cotton.