
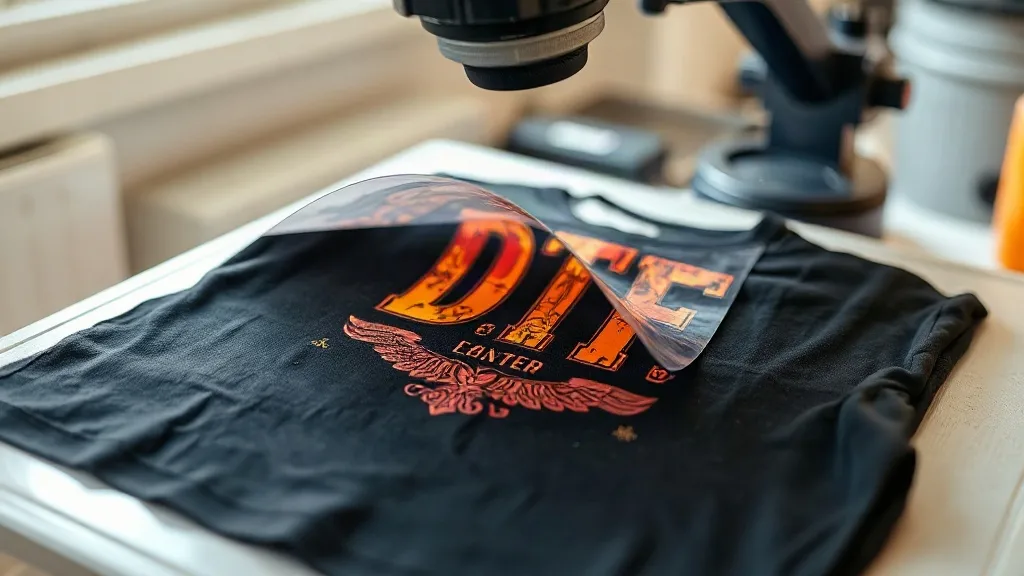
If you've been exploring custom apparel printing, you've likely encountered dtf transfers. This innovative technology has quickly become a favorite among hobbyists and professionals alike, offering vibrant colors and durability that rival traditional methods. But what exactly are DTF transfers, and how can you use them to elevate your projects? In this guide, we'll break down everything you need to know, from the basics of dtf printing to advanced tips for flawless results. Whether you're a small business owner or a DIY enthusiast, understanding DTF transfers can open up a world of creative possibilities.
What Are DTF Transfers?
DTF stands for Direct-to-Film. It's a printing method where your design is printed onto a special film, then coated with a powder adhesive and cured. The resulting transfer can be applied to fabrics using a heat press. Unlike DTG (Direct-to-Garment) printing, which prints directly onto the fabric, DTF transfers allow you to print on a wide range of materials, including cotton, polyester, blends, and even some non-fabric items like canvas bags and hats. The process involves printing a mirror image of your design onto the film using specialized DTF inks, applying a hot-melt powder while the ink is still wet, and then curing the powder to create a durable, stretchable transfer.
Why Choose DTF Transfers?
There are several compelling reasons why DTF transfers have gained such popularity. First and foremost is versatility. Because the transfer is applied with heat and pressure, it adheres to many surfaces, including those that are difficult to print on directly. This means you're not limited to cotton t-shirts; you can decorate polyester sportswear, nylon jackets, and even leather items. Second, DTF transfers produce vibrant, high-opacity colors. The white ink layer in DTF printing ensures that your design pops even on dark garments, without the need for a white underbase. Third, the durability is impressive. When applied correctly, DTF transfers withstand repeated washing without cracking or fading, making them ideal for items that see heavy use.
Cost-Effective for Small Batches
Unlike screen printing, which requires separate screens for each color and becomes cost-effective only at higher quantities, DTF transfers are economical for small runs. You can print a single transfer or hundreds, and the cost per unit remains reasonable. This makes DTF an excellent choice for small businesses, crafters, and anyone who wants to create custom items without a large upfront investment.
No Weeding Required
If you've ever worked with heat transfer vinyl (HTV), you know the tedious process of weeding out tiny details. DTF transfers eliminate that step entirely. The design is printed and ready to apply after curing, saving you time and reducing waste. This is particularly beneficial for intricate designs with fine lines or small text.
How to Apply DTF Transfers
Applying DTF transfers is straightforward, but following the correct steps is crucial for a professional finish. Here's a step-by-step guide to ensure your transfers adhere properly and last long.
Step 1: Prepare Your Heat Press
Preheat your heat press to the recommended temperature, typically around 300°F to 325°F (150°C to 160°C). The exact temperature can vary depending on the transfer supplier and the fabric, so always check the instructions provided with your transfers. Set the pressure to medium to high, and pre-press the garment for a few seconds to remove moisture and wrinkles.
Step 2: Position the Transfer
Place the DTF transfer onto the garment with the printed side facing up. If your transfer has a carrier film, ensure the film is on top. Position it exactly where you want it; once pressed, it's difficult to reposition without damaging the transfer.
Step 3: Press the Transfer
Cover the transfer with a protective sheet (like a Teflon sheet or parchment paper) to prevent the film from sticking to the heat press. Press with firm pressure for about 10-15 seconds. The time may vary, so refer to your transfer's instructions. For larger transfers, you might need to press in sections to ensure even adhesion.
Step 4: Peel the Film
DTF transfers can be peeled either hot or cold, depending on the type. Most modern transfers are designed for hot peel, meaning you remove the film immediately after pressing while it's still hot. Peel the film smoothly and evenly. If you encounter resistance, allow the transfer to cool slightly before continuing. Cold peel transfers require you to wait until the transfer is completely cool before peeling.
Step 5: Post-Press for Durability
For added durability, especially on stretchy fabrics, it's recommended to post-press the transfer for an additional 5-10 seconds with a protective sheet. This helps the adhesive fully bond with the fibers. Avoid washing the garment for at least 24 hours after application.
Common Mistakes to Avoid
Even experienced users can run into issues with DTF transfers. Here are some common pitfalls and how to steer clear of them.
- Insufficient Pressure: If the pressure is too low, the transfer won't adhere properly, leading to peeling. Always use medium to high pressure and ensure your heat press is calibrated.
- Wrong Temperature: Too low, and the adhesive won't melt; too high, and you risk scorching the fabric or the transfer. Use an infrared thermometer to verify your press's temperature.
- Peeling Too Early or Too Late: Follow the peel type specified by your transfer. Hot peel transfers should be peeled immediately, while cold peel transfers need to cool completely.
- Ignoring Fabric Type: Some fabrics, like nylon or those with coatings, may require lower temperatures or special handling. Always test on a scrap piece first.
DTF Transfers vs. Other Printing Methods
Understanding how DTF stacks up against other popular printing methods can help you choose the right technique for your project.
DTF vs. DTG
DTG printing is excellent for detailed designs on 100% cotton, but it can be less vibrant on dark colors and requires pretreatment. DTF, on the other hand, works on a wider range of fabrics and produces bright colors on dark garments without pretreatment. However, DTF transfers have a slightly thicker feel than DTG prints, which some may notice on lightweight fabrics.
DTF vs. Screen Printing
Screen printing is cost-effective for large orders and offers a soft feel, but it's not practical for small batches or multi-color designs due to setup costs. DTF transfers are ideal for small runs and complex designs, with no color limitations. The durability of DTF is comparable to screen printing when applied correctly.
DTF vs. HTV
Heat transfer vinyl is great for simple shapes and letters, but it requires weeding and layering for multi-color designs. DTF transfers eliminate weeding and allow for full-color, intricate designs in one press. HTV can be more cost-effective for very small, simple designs, but DTF wins for complexity and time savings.
Finding DTF Transfers Near You
If you're looking to try DTF transfers, you might be wondering where to source them. Many online suppliers offer custom DTF printing services, where you upload your design and receive ready-to-press transfers. For those who prefer a local touch, searching for dtf transfers near me can connect you with nearby print shops that provide DTF services. Local suppliers can be beneficial for quick turnaround and personalized support, especially if you're new to the process. When choosing a supplier, consider factors like print quality, turnaround time, and customer reviews.
Tips for Storing DTF Transfers
Proper storage extends the shelf life of your DTF transfers. Keep them in a cool, dry place away from direct sunlight. Avoid folding or creasing the transfers, as this can damage the ink layer. Store them flat or roll them loosely with the printed side facing out. Most transfers have a shelf life of several months to a year if stored correctly.
Frequently Asked Questions
Can I use DTF transfers on 100% polyester?
Yes, DTF transfers work well on polyester and polyester blends. However, because polyester is sensitive to high heat, you may need to lower the temperature slightly (around 280°F to 300°F) and use a shorter press time to avoid scorching or dye migration. Always test on a small area first.
How do I prevent the transfer from peeling after washing?
Peeling usually occurs due to insufficient pressure, incorrect temperature, or peeling too early. Ensure you follow the recommended settings for your transfer and fabric. Post-pressing for an extra 5-10 seconds can also improve adhesion. Wait at least 24 hours before washing, and turn the garment inside out to protect the transfer.
What is the difference between hot peel and cold peel DTF transfers?
Hot peel transfers are designed to be peeled immediately after pressing while still hot, which is faster and convenient. Cold peel transfers require you to wait until the transfer is completely cool before peeling, which can result in a slightly smoother finish. The choice depends on the manufacturer's recommendation.
Can I layer DTF transfers?
Yes, you can layer DTF transfers to create multi-color or multi-dimensional designs. Press the first transfer, peel the film, then apply the second transfer on top, ensuring proper alignment. Use a protective sheet between layers to prevent sticking.
Are DTF transfers safe for children's clothing?
DTF transfers are generally safe for children's clothing as long as the inks and adhesives used are non-toxic and comply with safety regulations. Look for transfers that are CPSIA compliant, especially if you're selling garments for children.
With their versatility, durability, and vibrant results, DTF transfers are a valuable addition to any crafter's toolkit. By understanding the process and following best practices, you can achieve professional-quality prints that impress. Whether you're creating custom apparel for your business or personal projects, DTF transfers offer a reliable and creative solution.